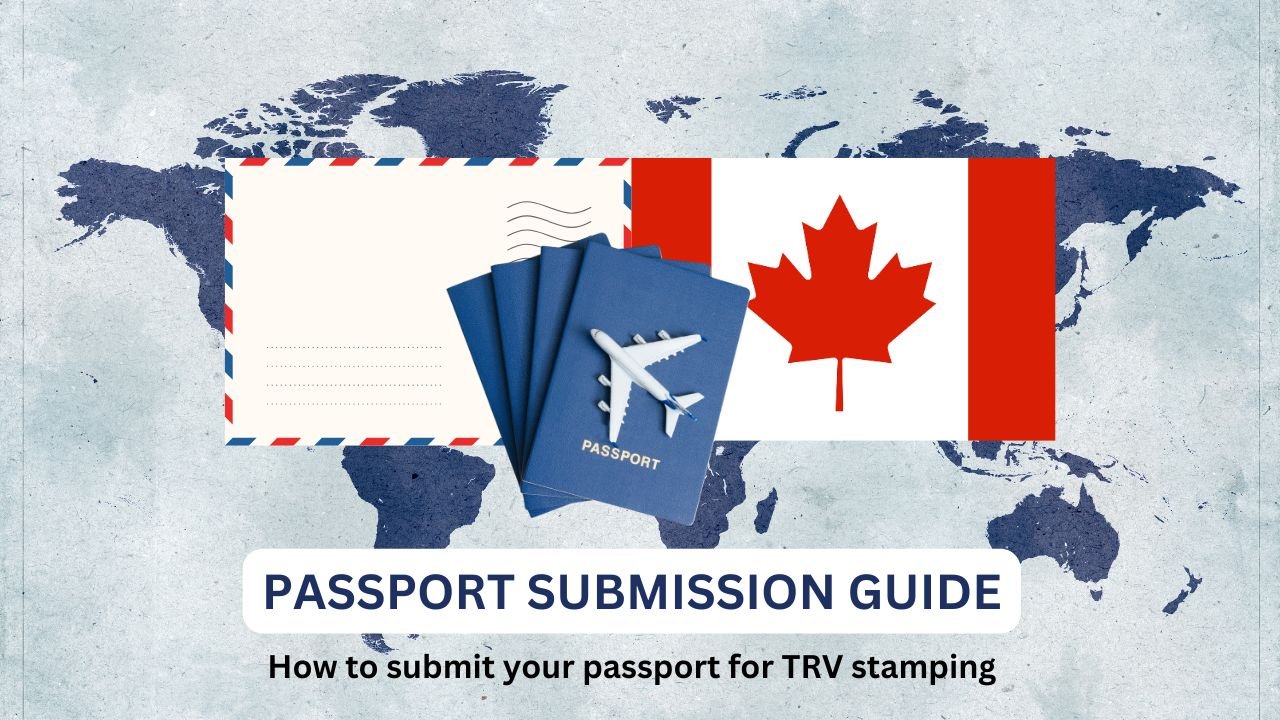
If you’ve received a Passport Request Letter (PPR) from Immigration, Refugees and Citizenship Canada (IRCC), congratulations! You’re one step closer to finalizing your application. This guide provides step-by-step instructions to ensure a smooth and timely submission of your passport.
Step 1: Wait for the Passport Request Letter (PPR)
- Do not send your passport until you’ve received a PPR via email or letter.
- Submitting your passport without the PPR can delay the processing of your application.
- Once the PPR is issued, you have 30 days to submit your passport.
Step 2: Check the Passport Requirements
Before sending your passport, ensure the following:
- Validity: Your passport should be valid for the entire duration of your stay in Canada.
- Blank Pages: Make sure your passport has at least one blank page.
- Copy of the PPR: Include a printed copy of the Passport Request Letter or email.
For Family or Group Applications:
- Each family or group member must receive their own PPR before submitting their passport.
- To meet the 30-day submission deadline, members may need to send their passports separately if not all PPRs are issued at the same time.
Step 3: Determine Where to Submit Your Passport
Find out where to send your passport: https://www.canada.ca/en/immigration-refugees-citizenship/services/application/account/where-submit-passport.html
For Applicants Outside Canada:
- Submit your passport to the Visa Application Centre (VAC) specified in your PPR.
- Check your VAC’s website for specific submission options (in-person, by mail, or courier).
For Applicants Inside Canada:
If you applied for a Temporary Resident Visa, study permit, or work permit from within Canada:
- Mail Your Passport: In-person submissions are not accepted within Canada.
- Super Visa Applicants: Passports must be sent to a VAC outside Canada.
Step 4: Prepare for Mailing
Follow these instructions to prepare your passport for submission:
Mailing Time
- IRCC typically processes passports within 14 calendar days (plus mailing time).
- Use a trackable mailing service to ensure timely delivery.
Choose and Purchase Envelopes:
- Prepaid Envelopes: Buy two prepaid envelopes (one for sending your passport and one for its return).
- If you live in Ontario or Quebec: Purchase regional envelopes.
- If you live elsewhere: Purchase national envelopes.
- Envelope Sizes:
- Letter-size envelope (318 x 241 mm) to send your passport.
- Standard-size envelope (260 x 159 mm) for the return of your passport.
- Write Down Tracking Numbers:
- Outgoing envelope: To track when IRCC receives your passport.
- Return envelope: To track when IRCC sends your passport back.
- Package Contents – Place the following items in the letter-size envelope:
- Your passport.
- A printed copy of your Passport Request Letter.
- The standard-size return envelope with your address written in the “Deliver to” field.
Step 5: Use the Correct Mailing Address
Ensure you send your package to the appropriate IRCC address, always check the Government of Canada’s website for updated information. https://www.canada.ca/en/immigration-refugees-citizenship/services/application/account/where-submit-passport.html#C
For Canada Post:
Temporary Resident Visa Section
CPC-Ottawa (e-Application)
PO Box 9640
Ottawa, Ontario
K1G 6T2
Courier address :
Temporary Resident Visa Section
CPC-Ottawa (e-Application)
365 Laurier Avenue West
Ottawa, Ontario
K1A 1L1
Step 6: Monitor Your Submission
- Track your outgoing envelope to confirm delivery to IRCC.
- Once IRCC sends your passport back, use the tracking number on your return envelope to monitor its delivery.
Additional Tips:
- Avoid booking travel outside Canada until your passport is returned.
- Double-check all details to prevent delays in processing.
By following these steps, you’ll ensure a seamless passport submission process. Best of luck with your application!