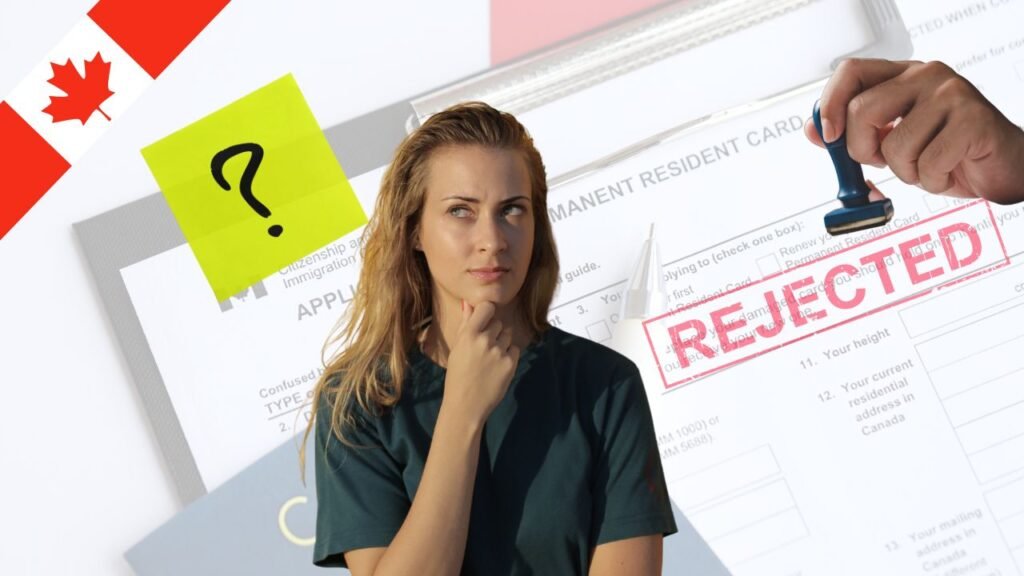
Receiving a refusal on your Canadian Permanent Residency (PR) application can be an overwhelming and discouraging experience. After months of gathering documents, preparing your file, and waiting anxiously, a rejection letter can feel like a major setback. However, it’s important to understand that a refusal is not the end of your immigration journey. In many cases, it can be the beginning of a more informed and strategic path forward. This guide outlines practical steps you can take after a PR refusal, helping you assess your options, avoid common mistakes, and improve your chances of success in the future.
1. Don’t Panic—Start by Understanding the Refusal Letter
Your first step is to carefully read the refusal letter. The letter will outline:
- The specific reasons for the refusal (e.g., missing documents, eligibility issues, medical inadmissibility, criminality, etc.)
- The relevant immigration program (Express Entry, PNP, family sponsorship, etc.)
- Whether an appeal or reconsideration is possible
Tip: Request the GCMS notes through an Access to Information and Privacy (ATIP) request. These notes provide detailed insights into why your application was rejected.
2. Evaluate the Reasons for Refusal
Common reasons for PR refusals include:
- Incomplete documentation
- Inaccurate or inconsistent information
- Language test results below minimum requirements
- Low CRS (Comprehensive Ranking System) score
- Failure to meet work experience or education criteria
- Misrepresentation (even if unintentional)
Solution: Once you understand the reason, you can take targeted action.
3. Know Your Options After a Refusal
Depending on the refusal type and PR program, here are your options:
i) Re-Apply
If the refusal was due to fixable errors (e.g., missing documents or outdated information), you can often submit a new application.
ii) Appeal or Judicial Review
If you believe the decision was unfair or mistaken, you may:
- Appeal to the Immigration Appeal Division (IAD) – common in family sponsorship cases.
- Request a Judicial Review at the Federal Court (typically within 15–60 days depending on whether you’re in or outside Canada).
iii) Apply Under a Different Program
Explore alternate pathways:
- Provincial Nominee Programs (PNPs)
- Atlantic Immigration Program (AIP)
- Agri-Food Pilot or Rural and Northern Immigration Pilot
- LMIA-based work permits leading to PR
4. Get Expert Help—Consider a Regulated Immigration Consultant or Lawyer
After a refusal, professional advice is often worth the investment. A Regulated Canadian Immigration Consultant (RCIC) or immigration lawyer can:
- Review your refusal letter and GCMS notes
- Identify errors or inconsistencies
- Help build a stronger re-application or appeal
5. Learn from Mistakes and Prepare Better
Turn your refusal into a learning opportunity:
- Keep copies of all your documents and submission proofs
- Double-check eligibility criteria for your chosen immigration stream
- Be honest and accurate in all forms
- Take language tests seriously—improve your IELTS/CELPIP/PTE scores if needed
6. Stay Updated on Immigration Changes
Canadian immigration policies evolve frequently. Stay informed through:
- IRCC’s official website
- Newsletters or blogs from trusted RCICs
- Canadian immigration forums like CanadaVisa or ExpatForum
Final Words
While a PR refusal can be disheartening, it often presents an opportunity to reassess, strengthen your case, and come back with a more compelling application. If you need professional support navigating the process, Yoke Immigrations, based in Etobicoke, is here to help. Led by RCIC Liz Mathew, our team is committed to guiding clients through even the most complex immigration challenges with clarity and confidence. Reach out today to book a consultation and take the next step in your Canadian journey.


